
Halloween Treat Bag Tutorial

Halloween is just one week away! Instead of running to the dollar store to grab a plastic bucket or rummaging through your linen closet to find an unused pillowcase, head to your sewing machine and let’s sew a treat bag together!
We’ll need fabric, a scrap of batting, and a sewing machine. I bought a Halloween FQ bundle from Walmart about a month ago. I really disliked one of them (had candy corn on it with the words “I’m corny”…. no thank you) so I grabbed another spooky-themed FQ to complete the stack. If you don’t have any Halloween fabric lying around, pick a few bright colors, throw black into the mix, and bam! It’s now sufficiently spooky.

This is your chance to use up those awkward scraps of batting you have lying around. They’re too big to throw away and too small to use for a larger project but PERFECT to make a treat bag. Yay!
If you aren’t saving batting scraps, here is your sign to save and use them. It is very easy and simple to stitch smaller scraps together with a zig-zag stitch to create a larger piece. Many quilters lovingly call this technique “Franken-batting”. I like to save small scraps to stuff pillows or stuffed animals, and scraps larger than a book get put in a bucket for small projects like this!
Fabric & Tool Requirements
4 FQ (Fat Quarters = 18x22”)
a scrap of batting (at least 20x30”)
sewing machine
thread
straight pins
rotary cutter & cutting mat
iron
walking foot (optional)

Tutorial
Choose 3 FQ to be the outside of the bag (the remaining FQ will be the handles and the liner). Cut 5 strips of each fabric, 2.5 x 22 inches each.
1

2
Sew the strips together lengthwise (with a 1/4 inch seam allowance) in a repeating pattern (A, B, C, A, B, C, etc.)

3
Sew the top strip to the bottom strip RST (right sides together) to create a continuous loop of fabric.
4
Press seams to the side.
5
Lay your loop flat on your cutting mat, and cut 15 strips 2.5 inches wide.
Pro tip: as you put them to the side, do not change their direction. Simply move them parallel to the cutting mat—it’ll make the next step easier.
6
You should now have 15 skinny loops of squares. Pick up your first loop and seam rip the seam between fabrics A and B. Lay flat with fabric A at the top of your cutting mat.
Pick up your next loop and open the seam between fabrics B and C. Lay flat with fabric B at the top of your cutting mat.
Pick up another loop and open the seam between fabrics C and A. Lay flat with fabric C at the top of your mat.
Continue open seams in the manner listed above until you have 5 strips starting with A, 5 starting with B, and 5 with C.

7
Sew strips together with a 1/4” seam allowance. Create a repeating pattern (A, B, C, etc.) by starting the first column with A, the next with B, etc.

8
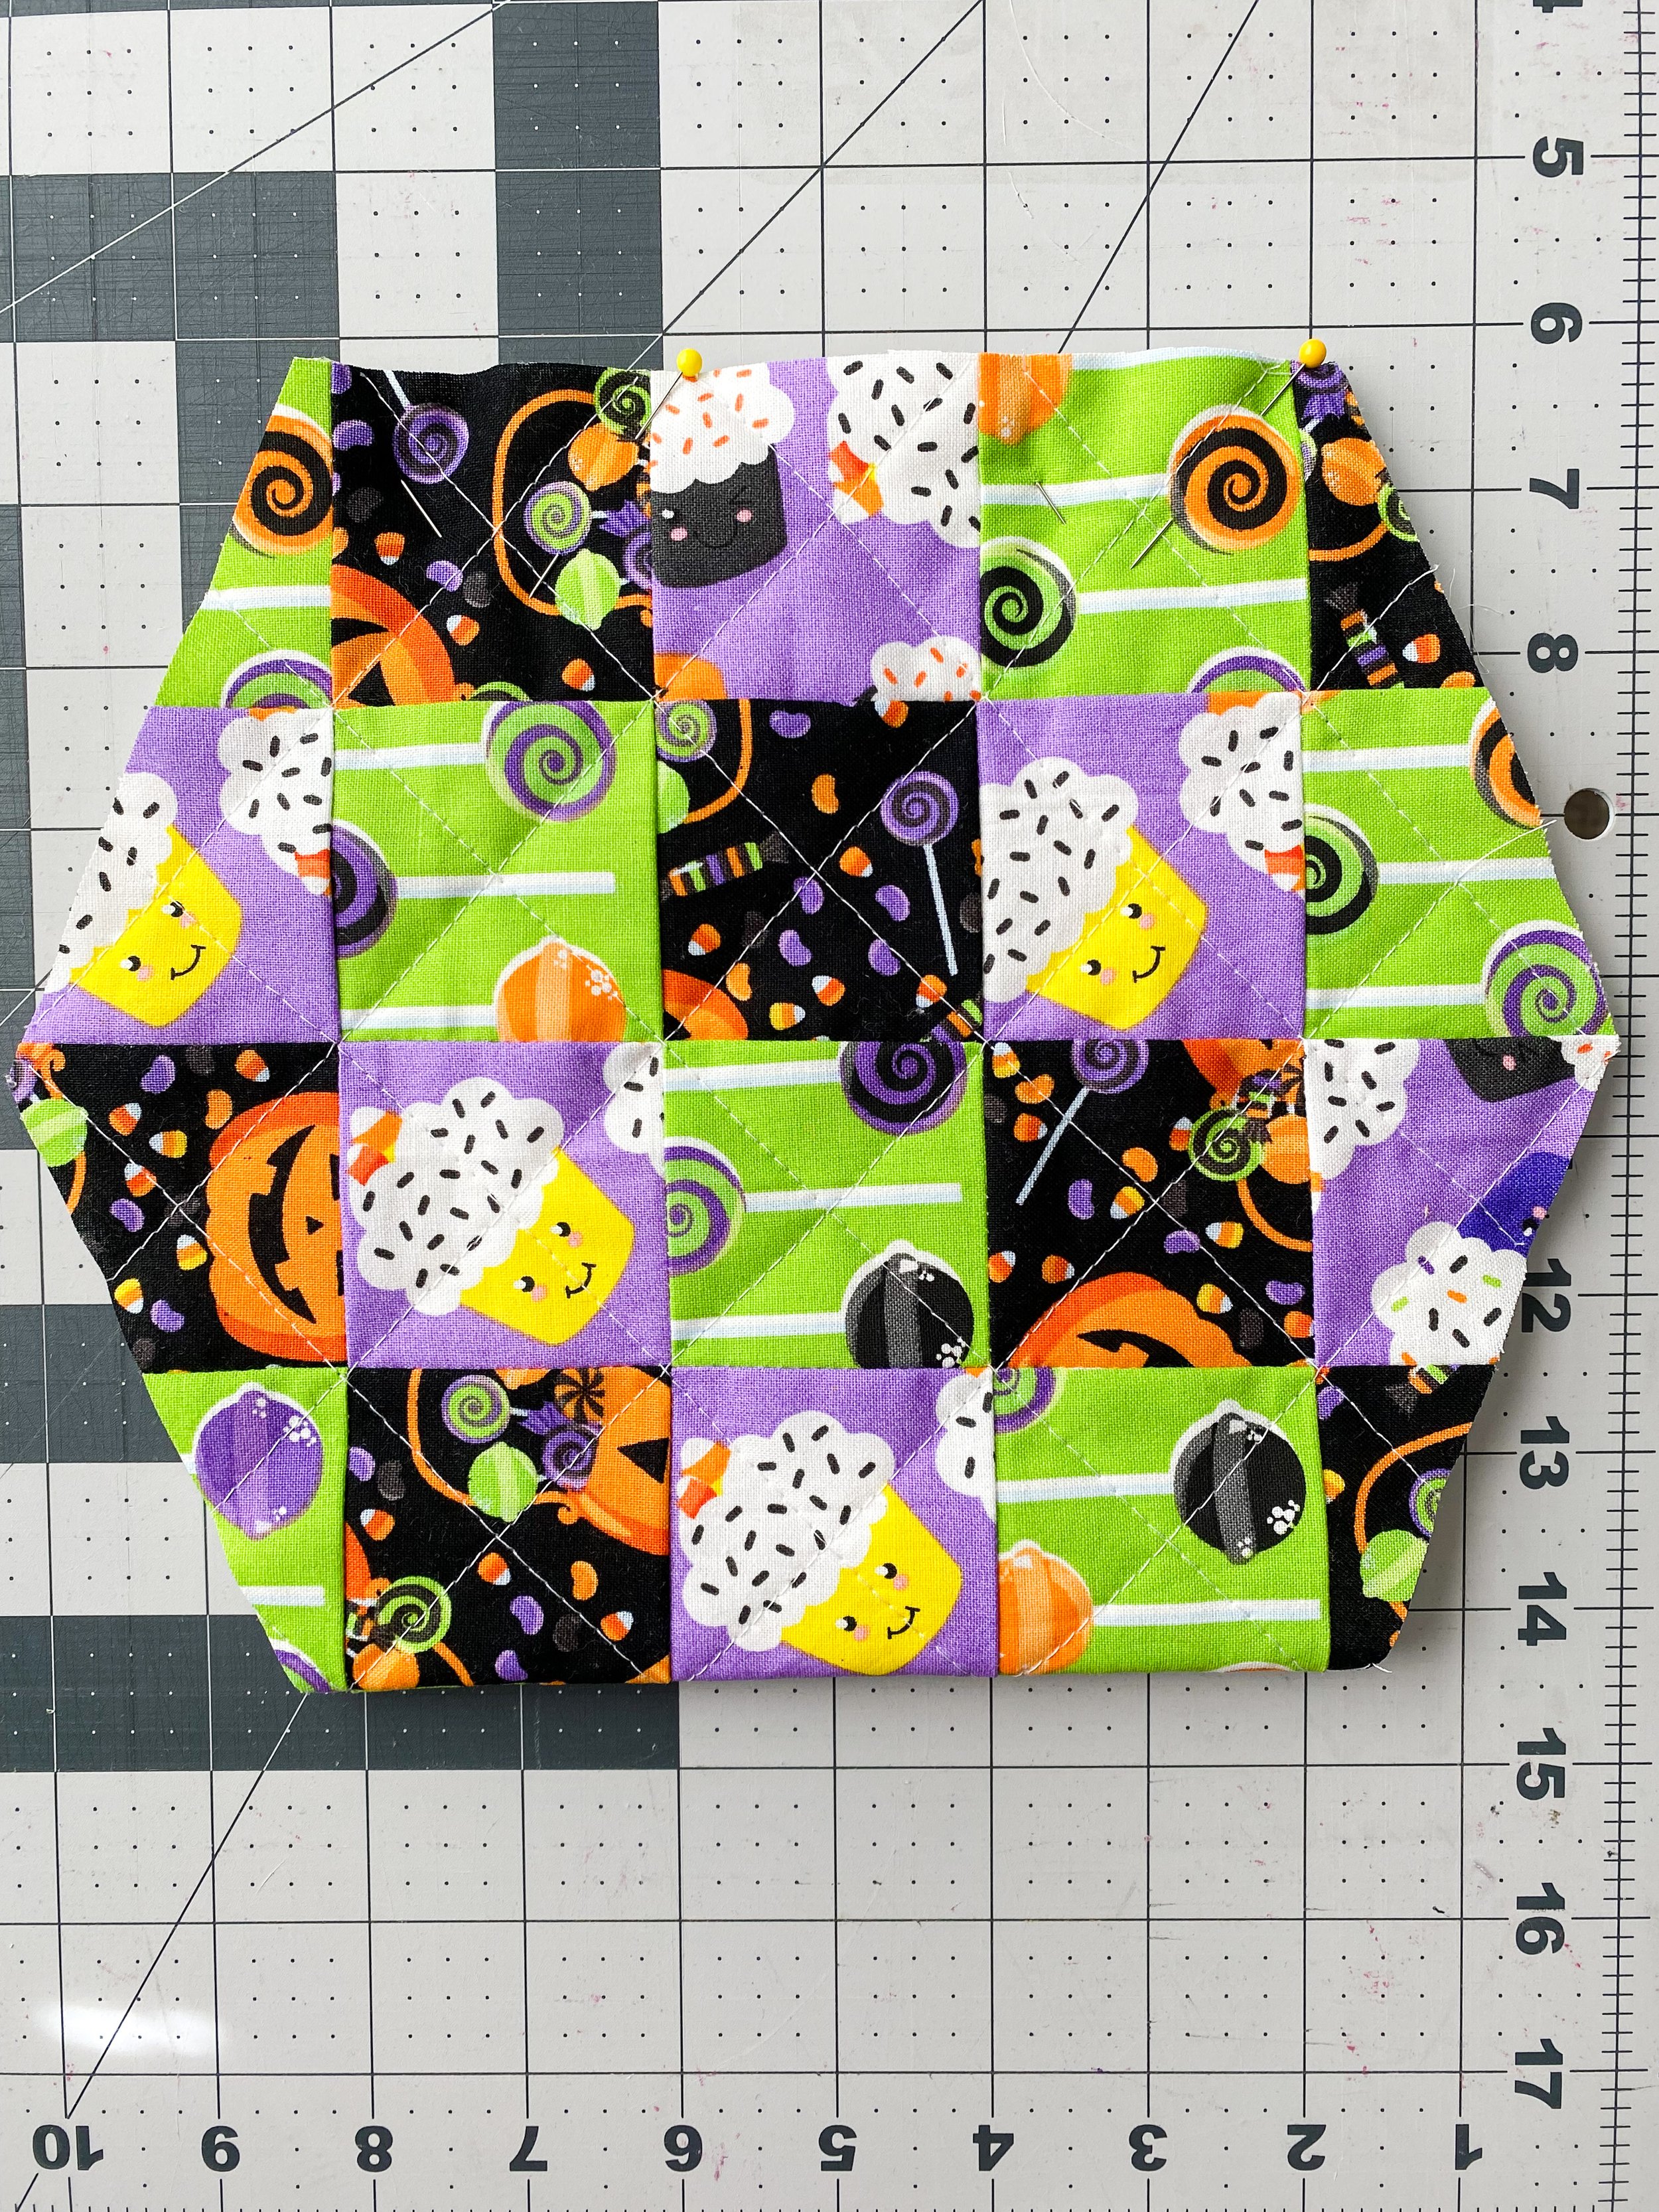
Trim panel down to size. I chose to make a mini bag that my toddler could carry without dragging on the floor. My trimmed panel size was 5 squares by 8 squares, roughly 10.5x20 inches.
You can also skip this step if you’d prefer to just quilt the whole panel and then decide on the shape of your bag later.

9
Quilt the panel. I increased my stitch length to 4 and used my walking foot to quilt. Center your panel on top of the batting, smooth out any wrinkles and secure the corners with pins before sewing.

10
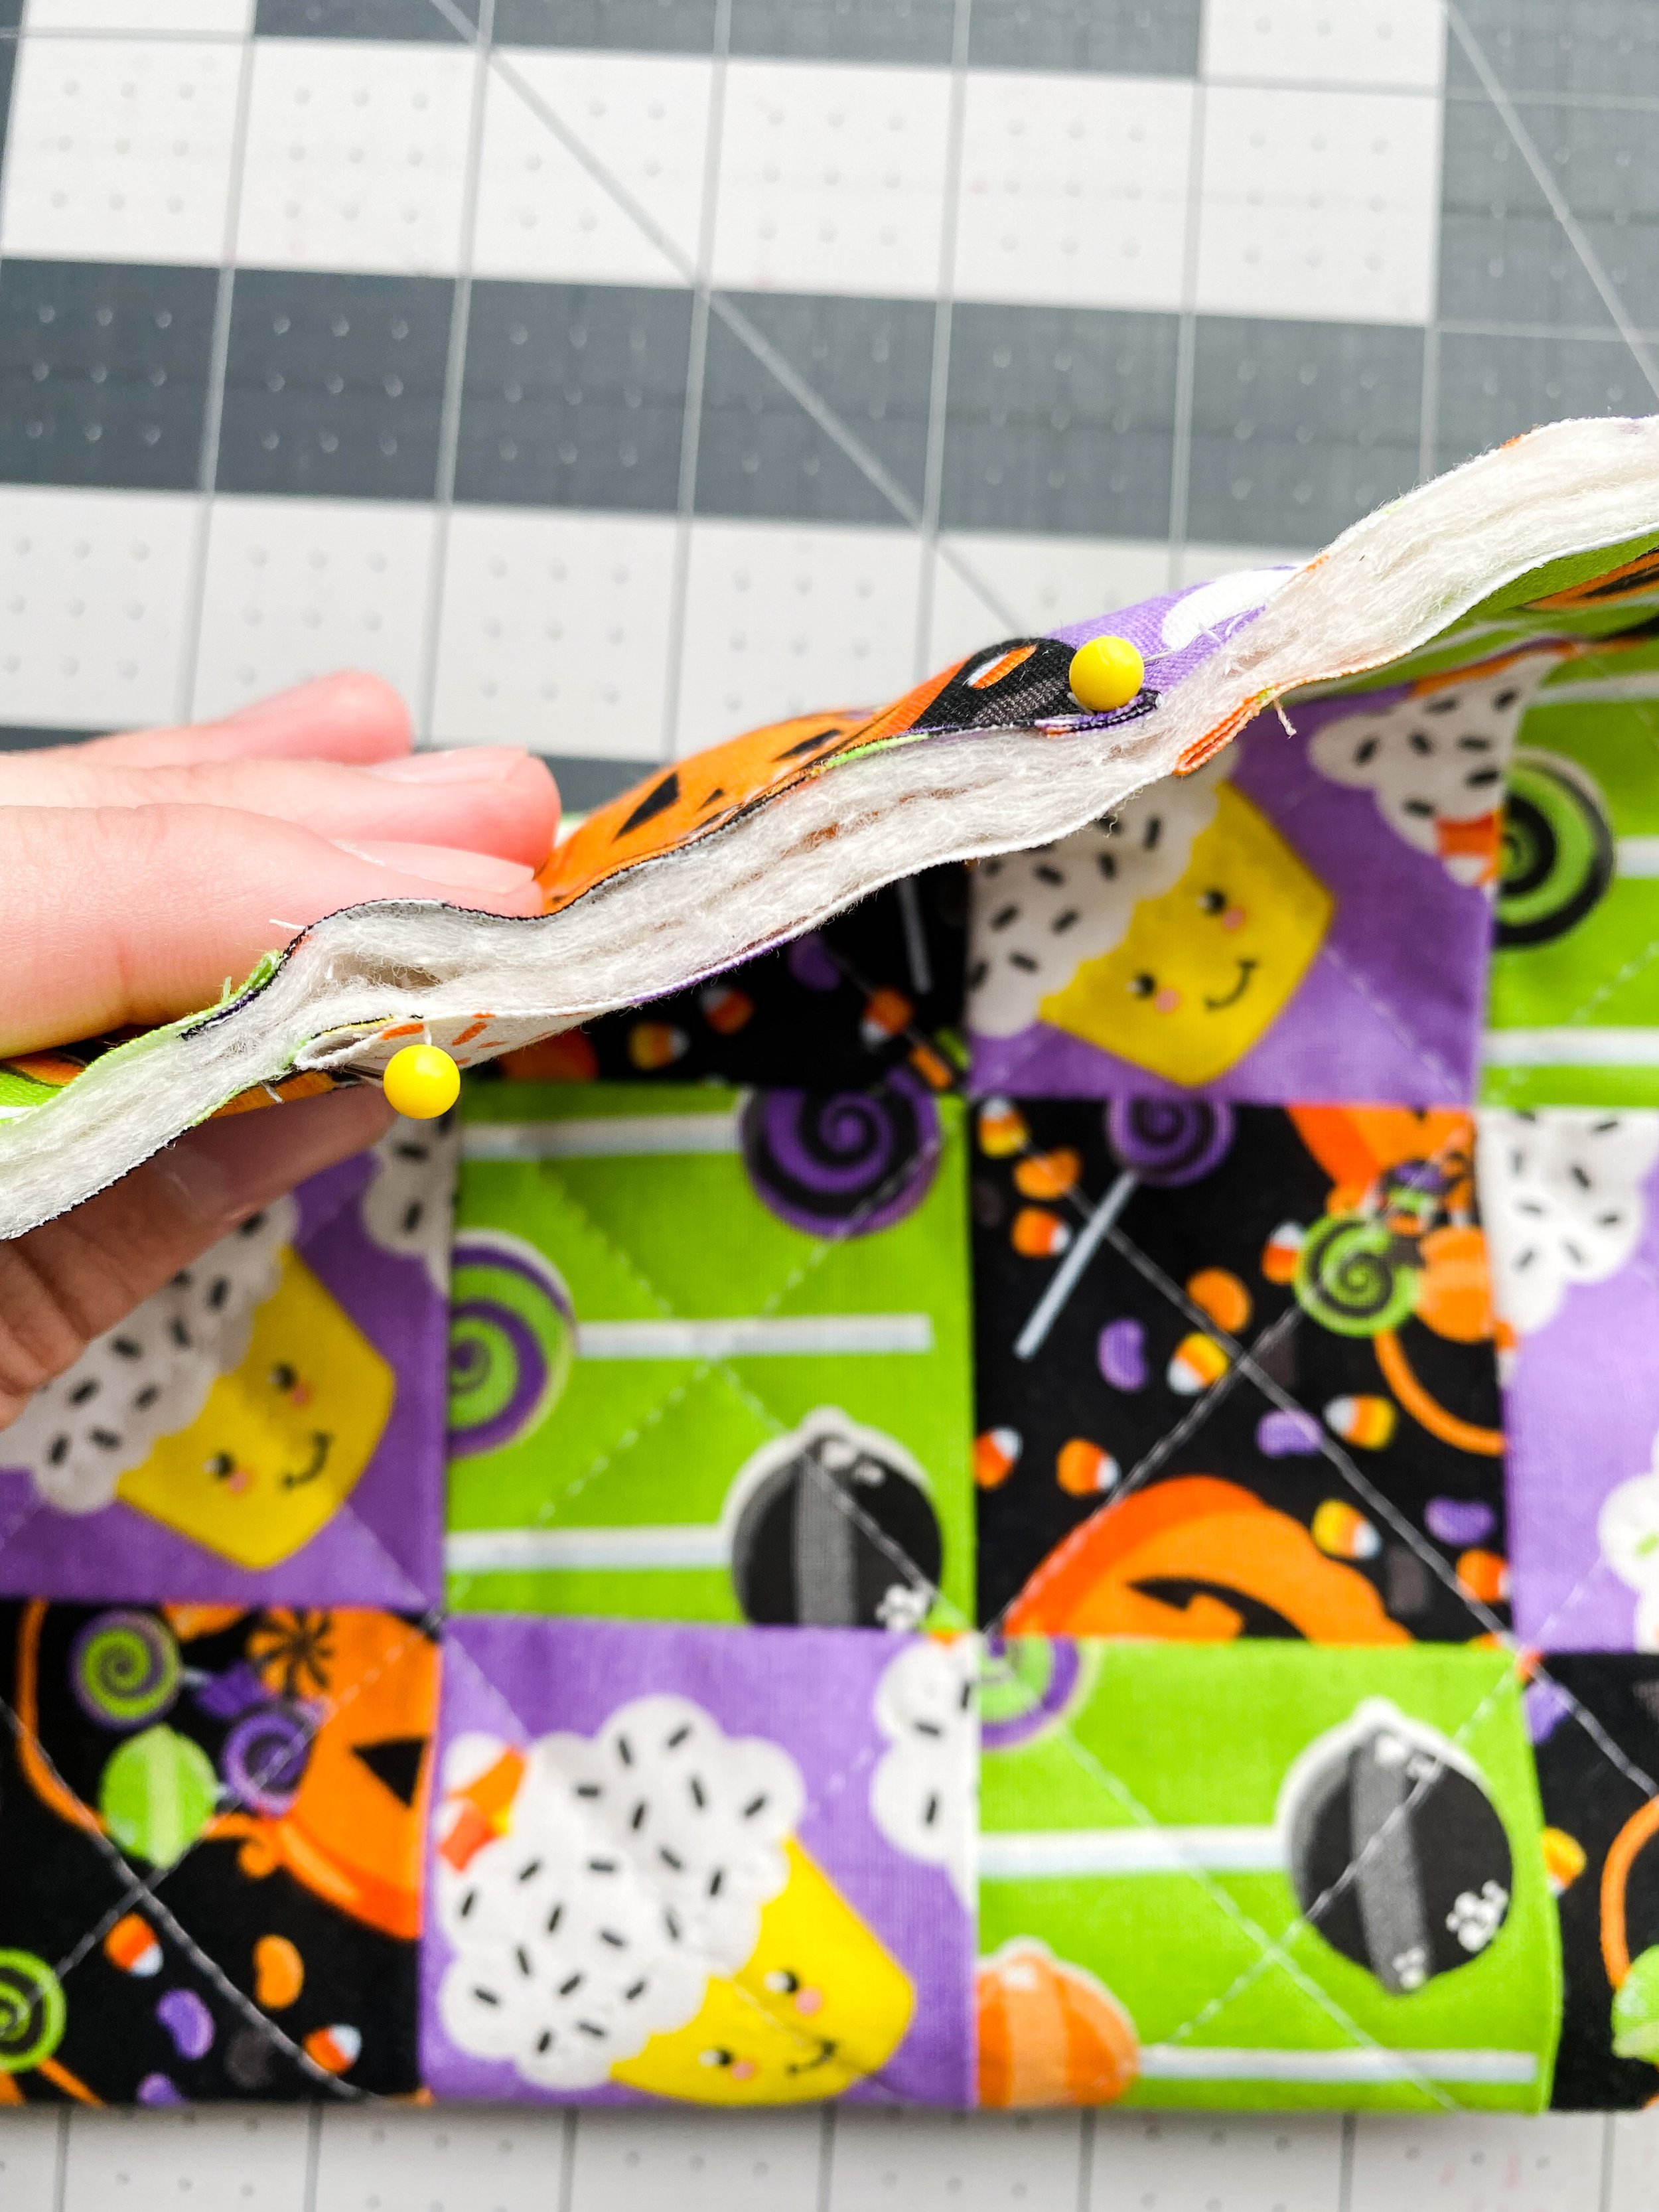
Trim quilted panel down to size. Fold the panel in half and use straight pins to align the seams at the open end (pictured left).
Trim excess fabric and batting to create desired shape (pictured middle).

11
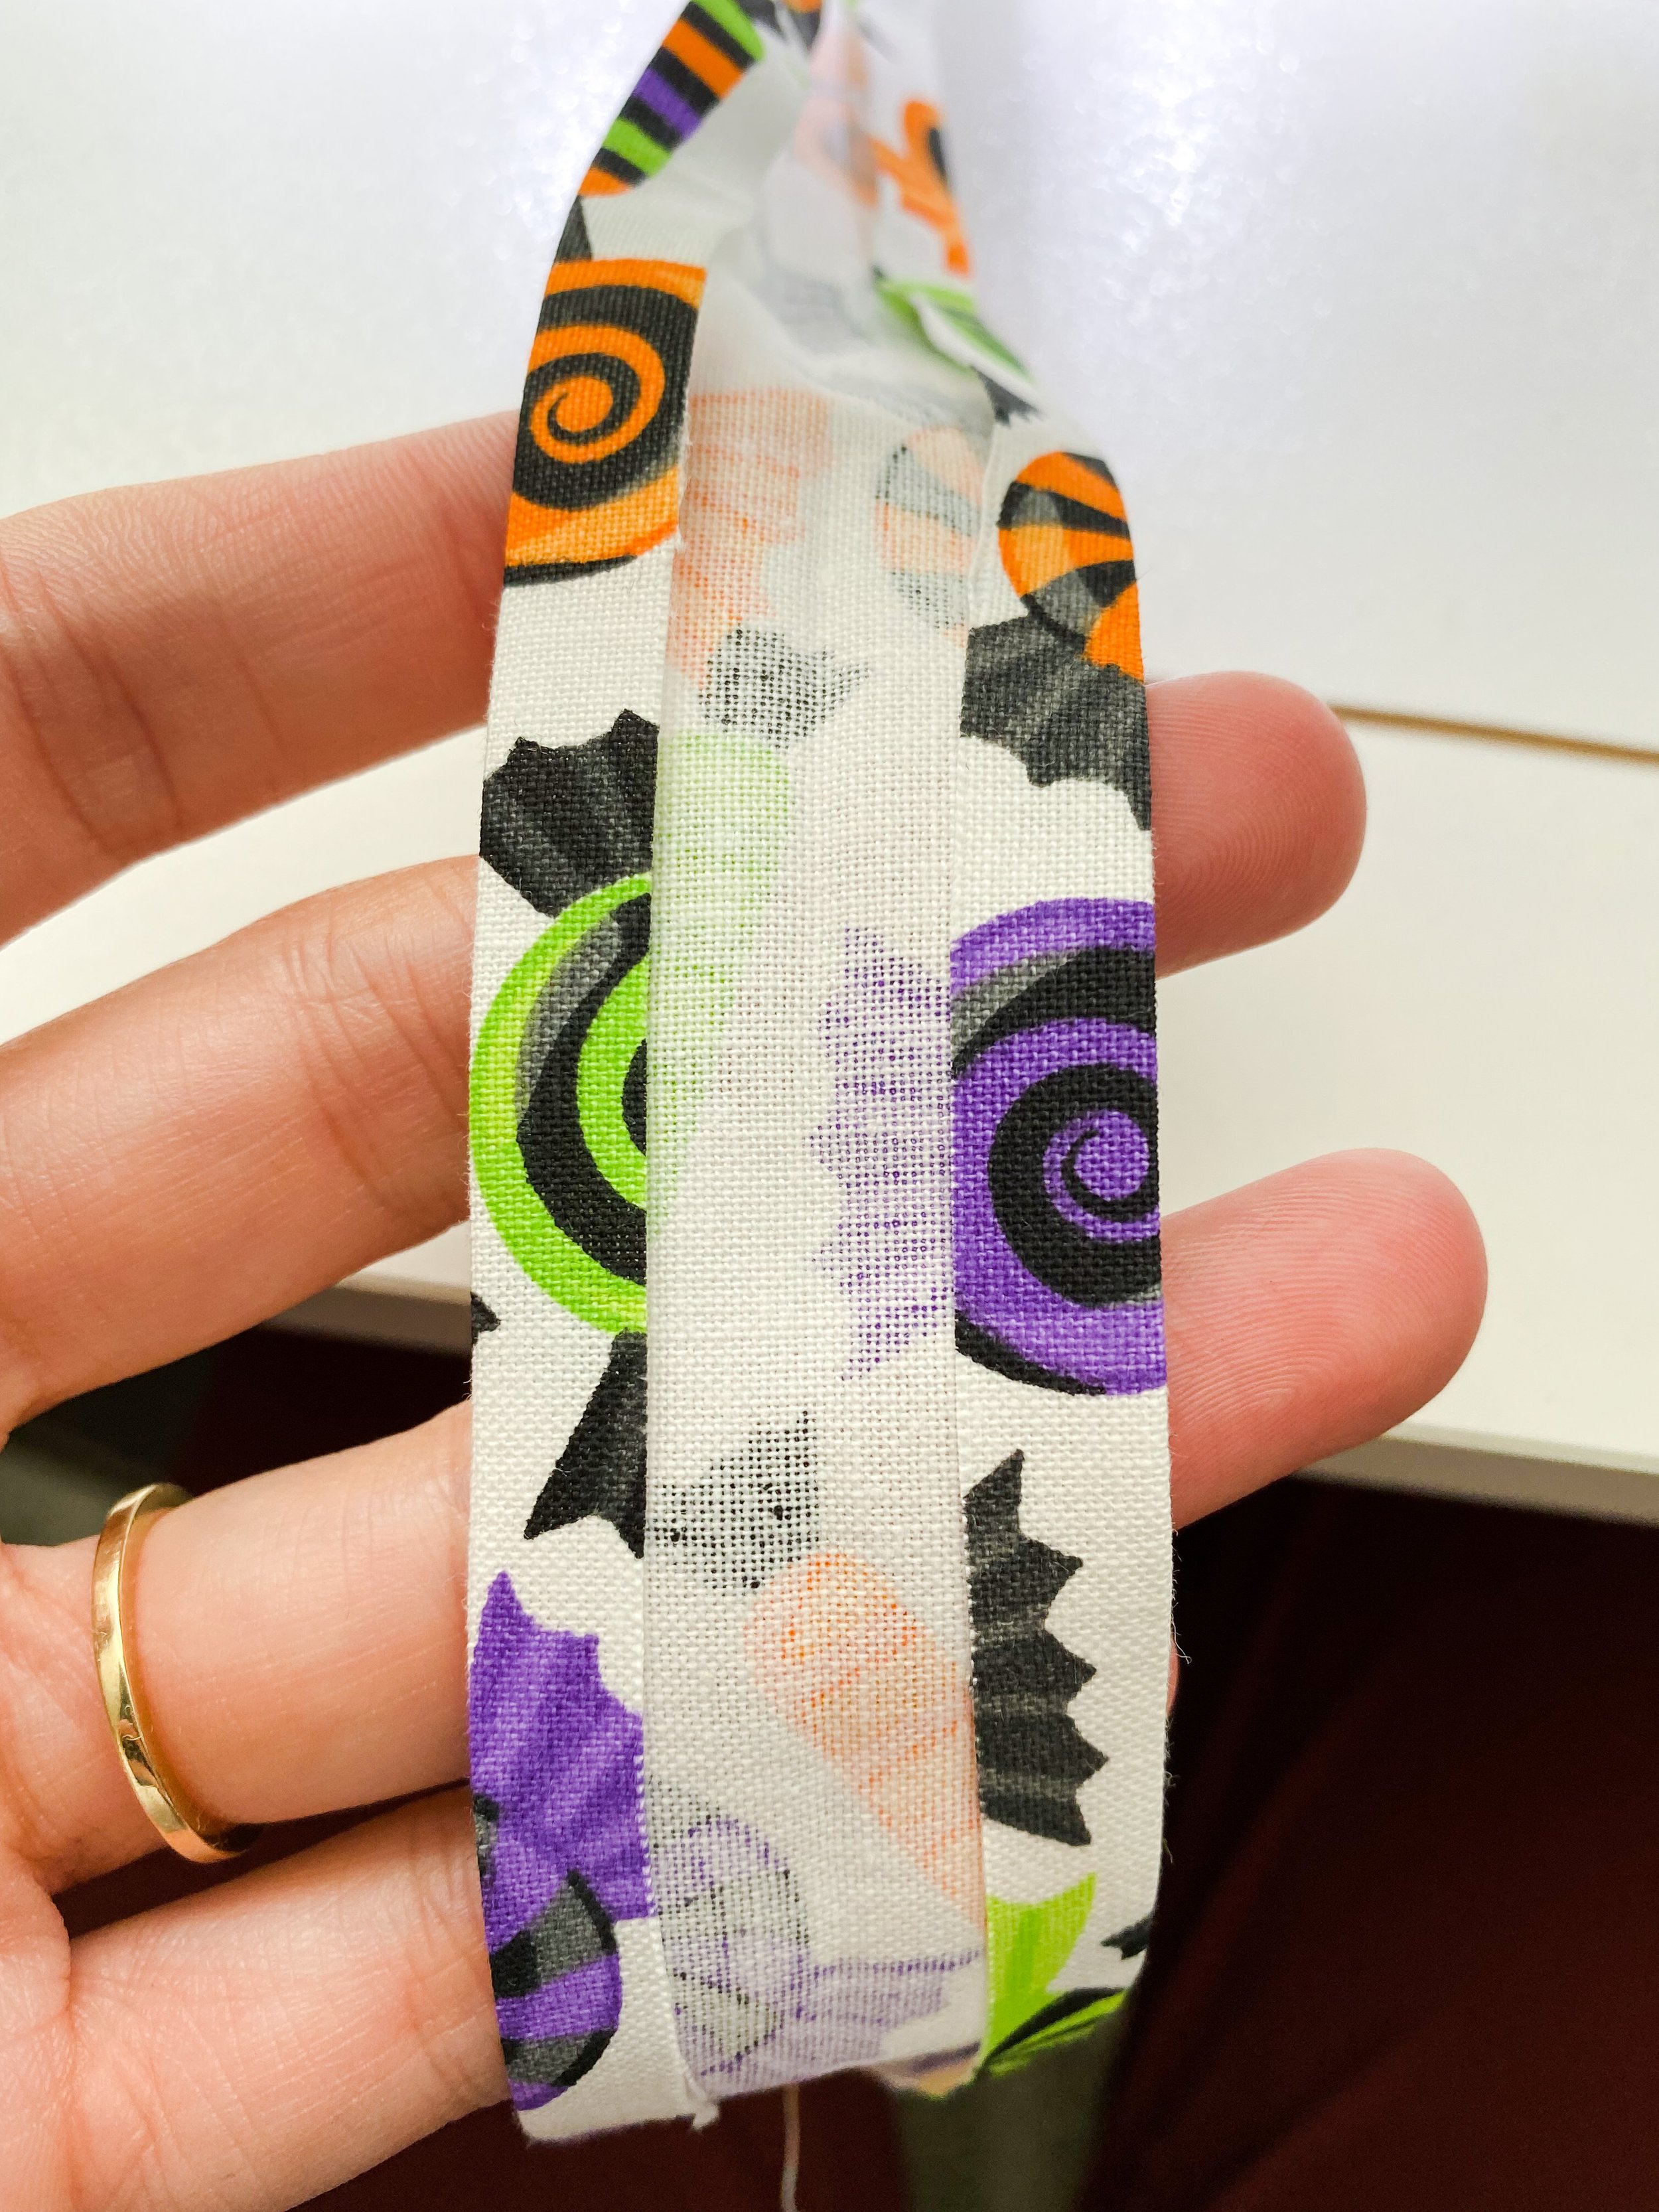
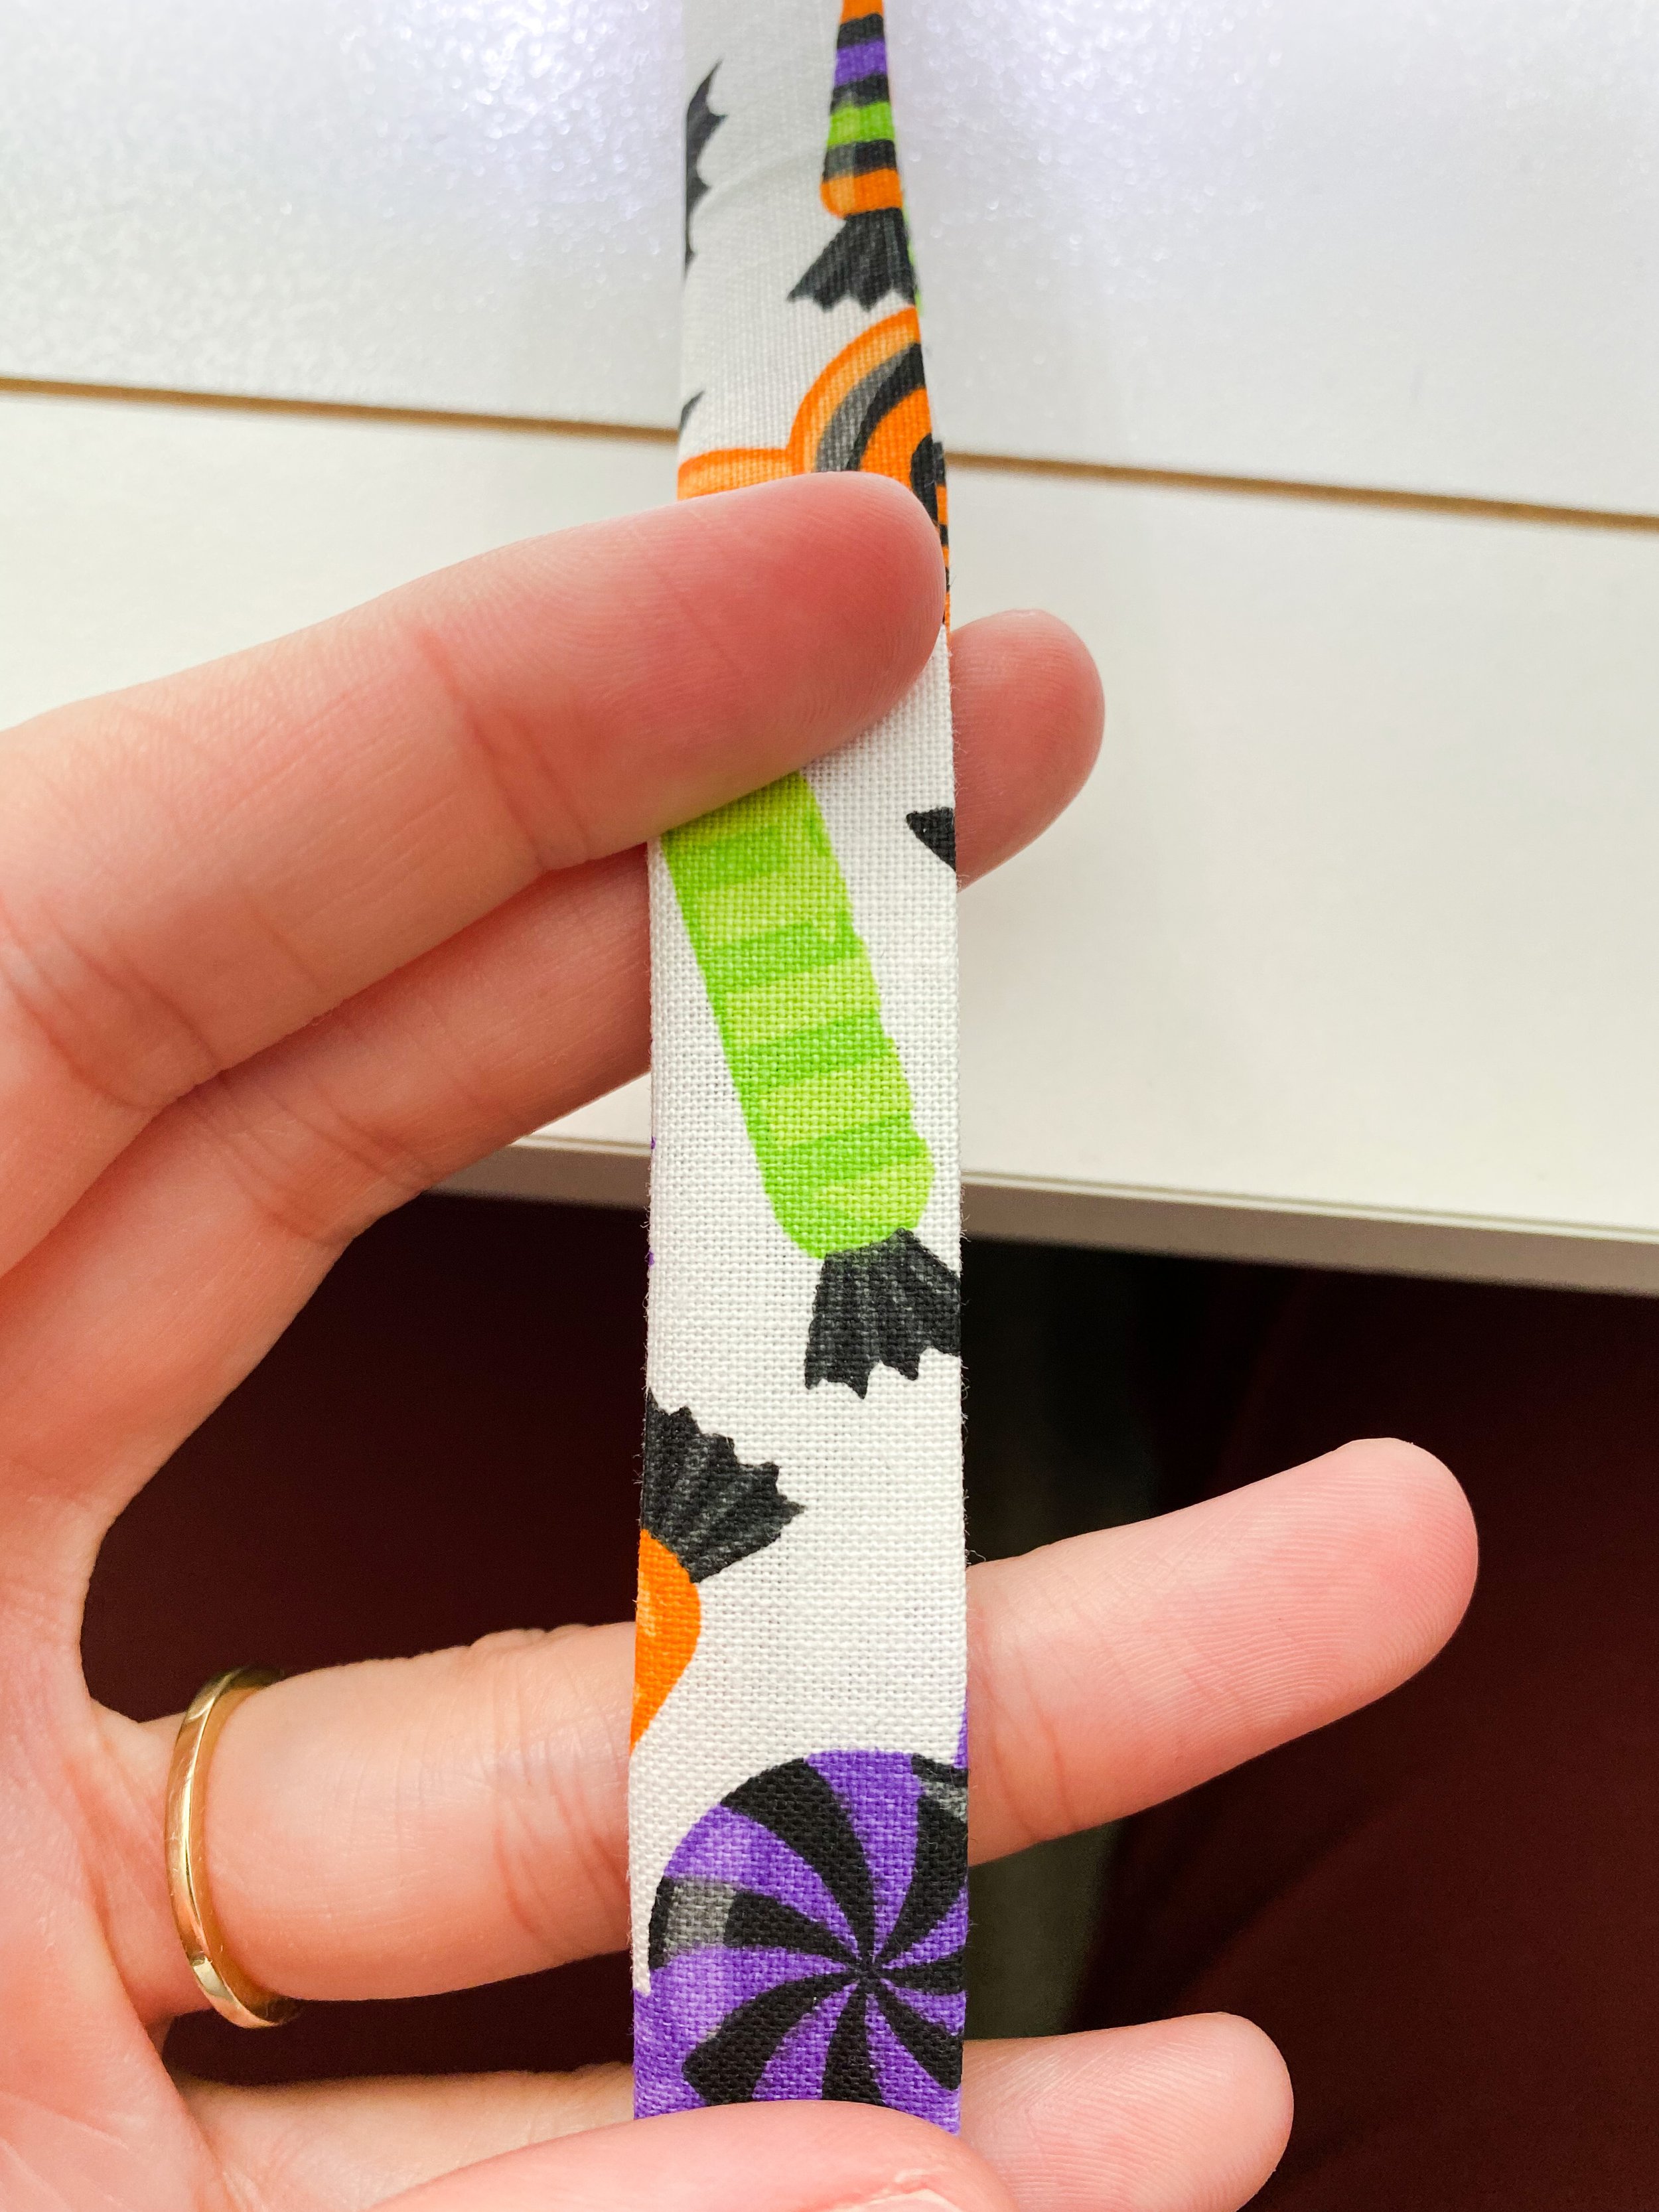
Make handles by cutting a strip 2 x 22 inches. Fold over 1/4 inch on each side and press (pictured left). Fold strip in half, making sure that the open edges line up perfectly (pictured right).
Sew along the open edge with a small zig-zag or straight stitch. Cut strip in half to yield two 11 inch handles.
12
Lay folded quilted panel on top of folded liner FQ. Line up the folded seams and trace the shape of your bag onto the lining fabric with a pencil, hera marker, or cut out carefully with a rotary cutter.

13
Remove pins and open your quilted panel and lining. Pin one handle to each end of your quilted panel (pictured left). Make sure the handles are pinned symmetrically (same spots on both ends of the bag) and that the handles are not twisted.
Place the liner RST (right sides together) on top of the quilted panel. Sew them together with a straight stitch (pictured right).


14
Turn the sewn panel right side out.

15
Stitch along the top edge of the bag, just beneath the handles to create a nice, finished look.

16
Turn the bag inside-out and orient the bag as seen below, with the quilted panel folded on top of itself and the lining folded on top of itself, with the handles in the middle.
Sew around the open parts of the bag with a 1/4” seam (make sure to not sew over the handles). Leave a 4” gap in a part of the liner close to the fold (you can see my gap on the upper right corner in the photo below). If you sew all the way around the bag you will not be able to turn it right side out.

17
Reach through the 4” gap and turn the bag right side out.

18
Close the gap in the liner by folding the excess fabric inside, then closing the seam with a small zig-zag or straight stitch.

19
Turn liner inside the bag, and voila! You’ve made a Halloween treat bag!
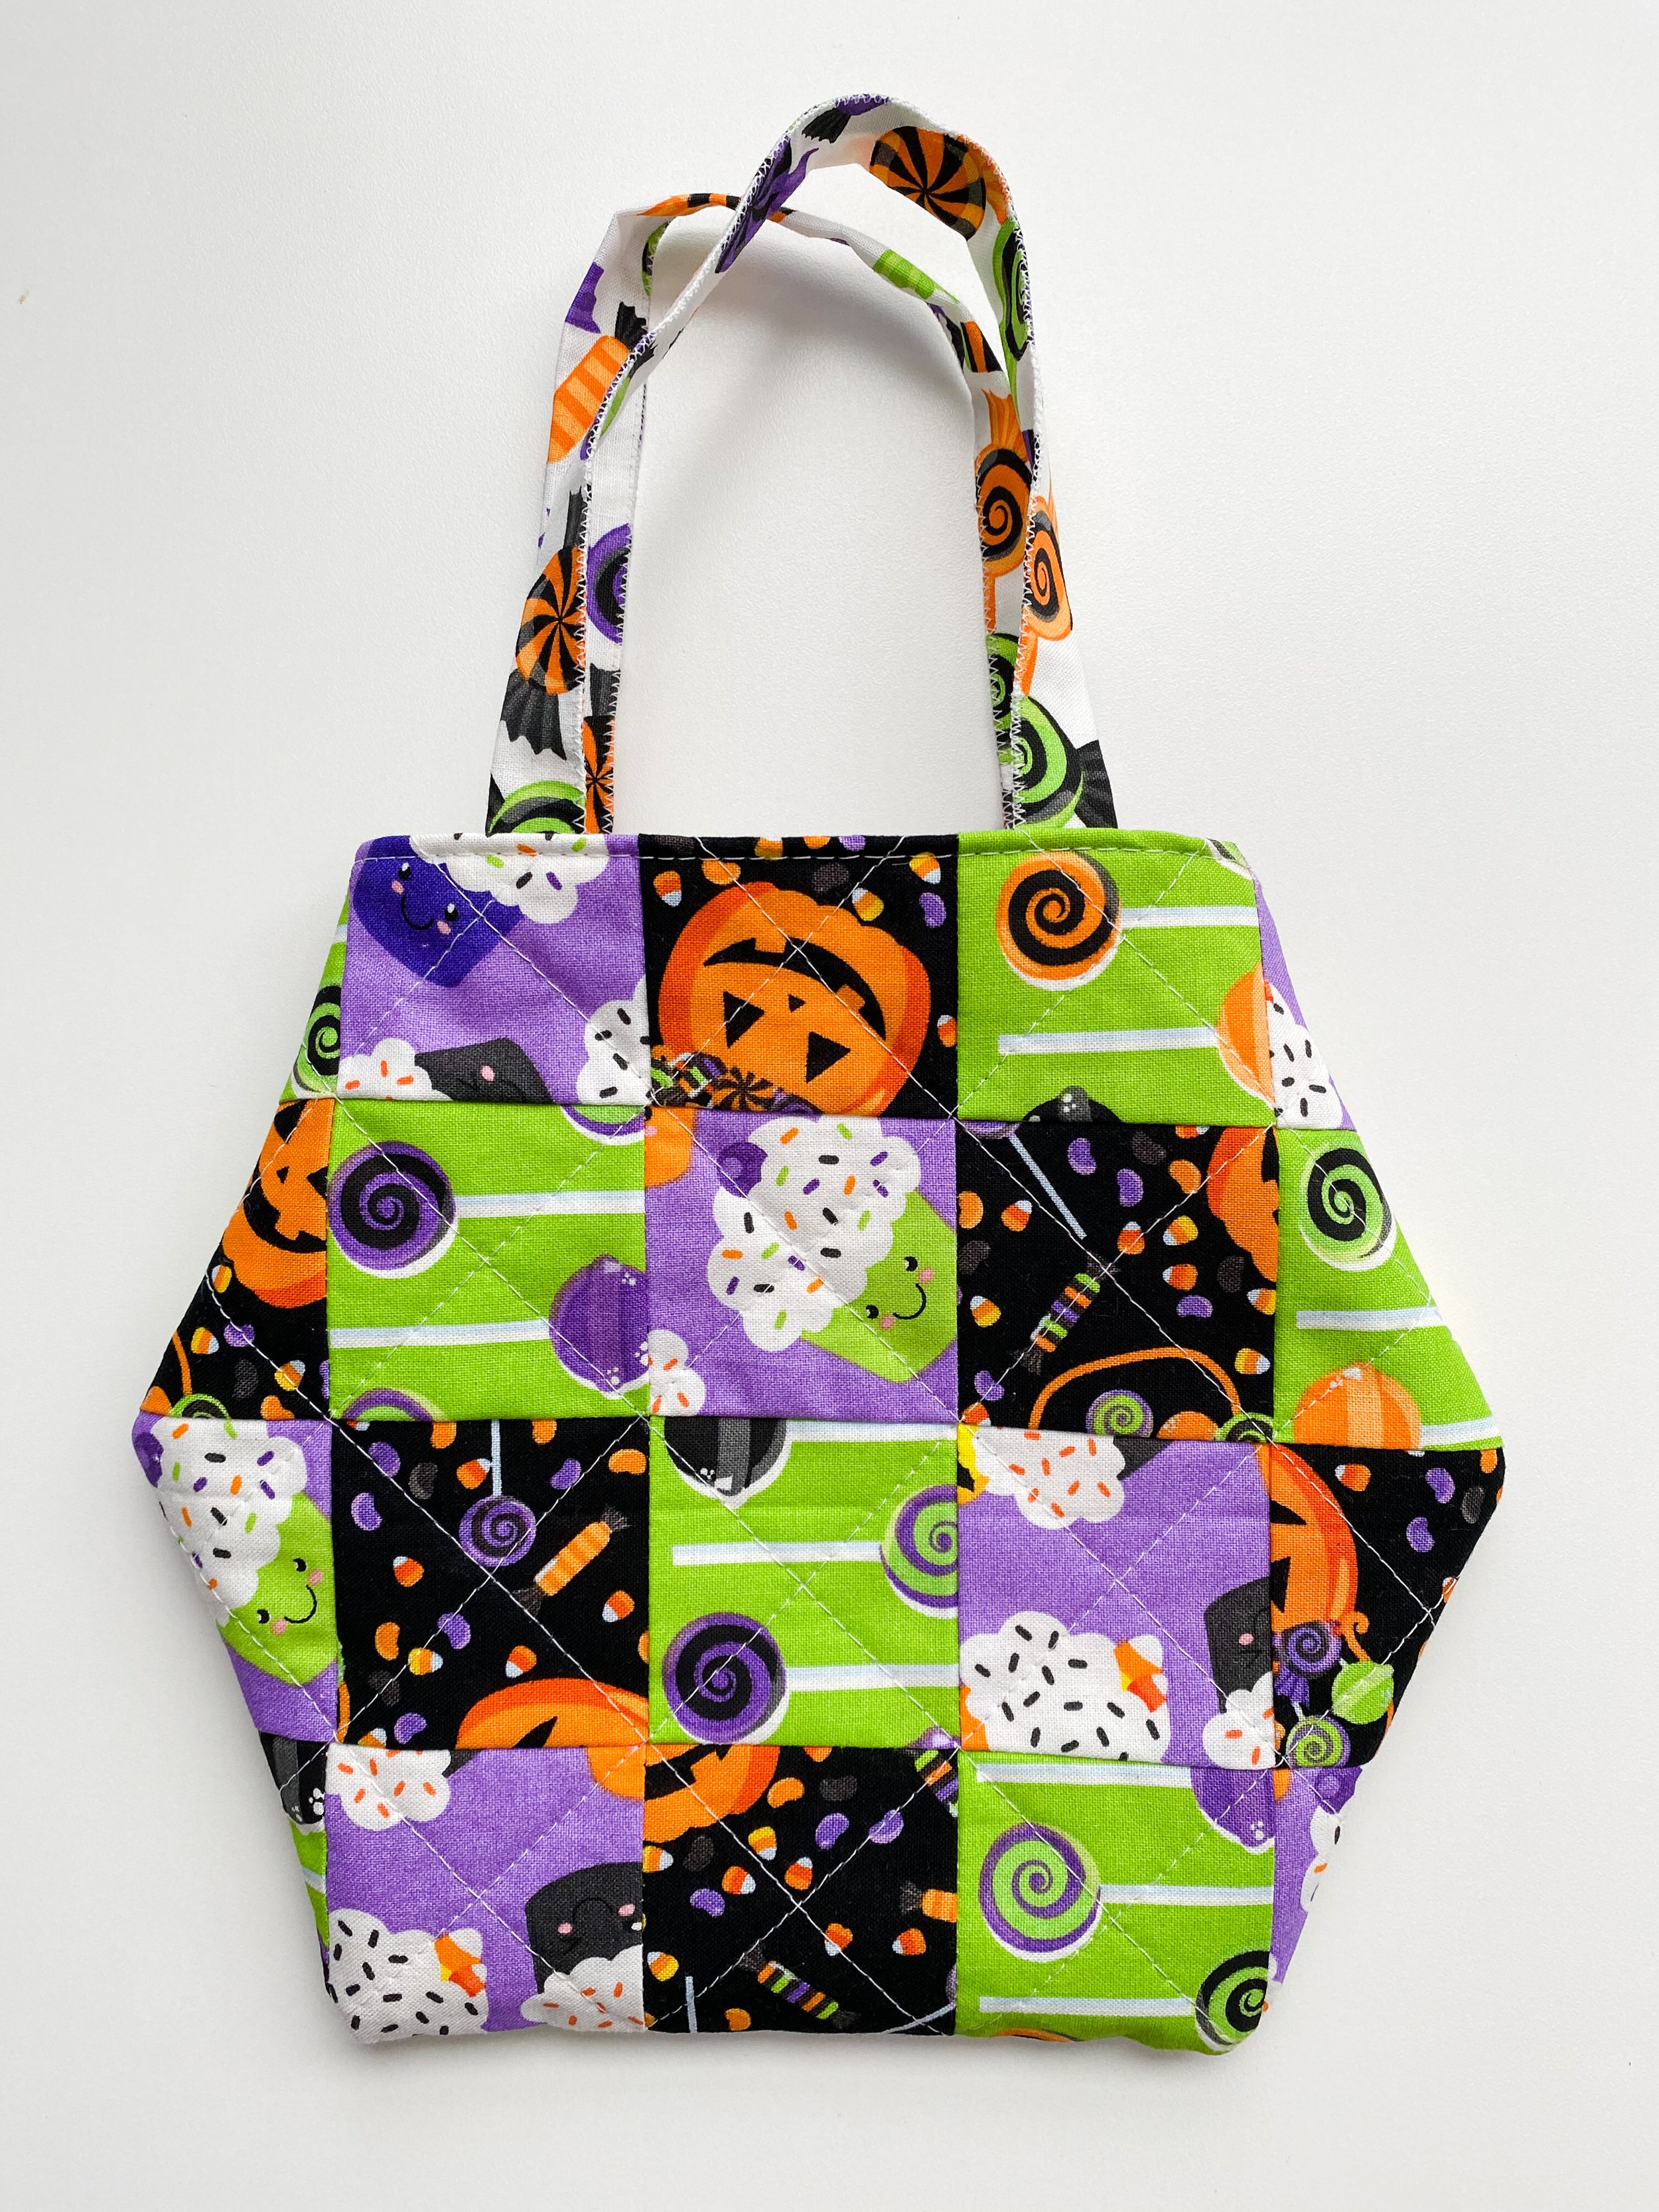
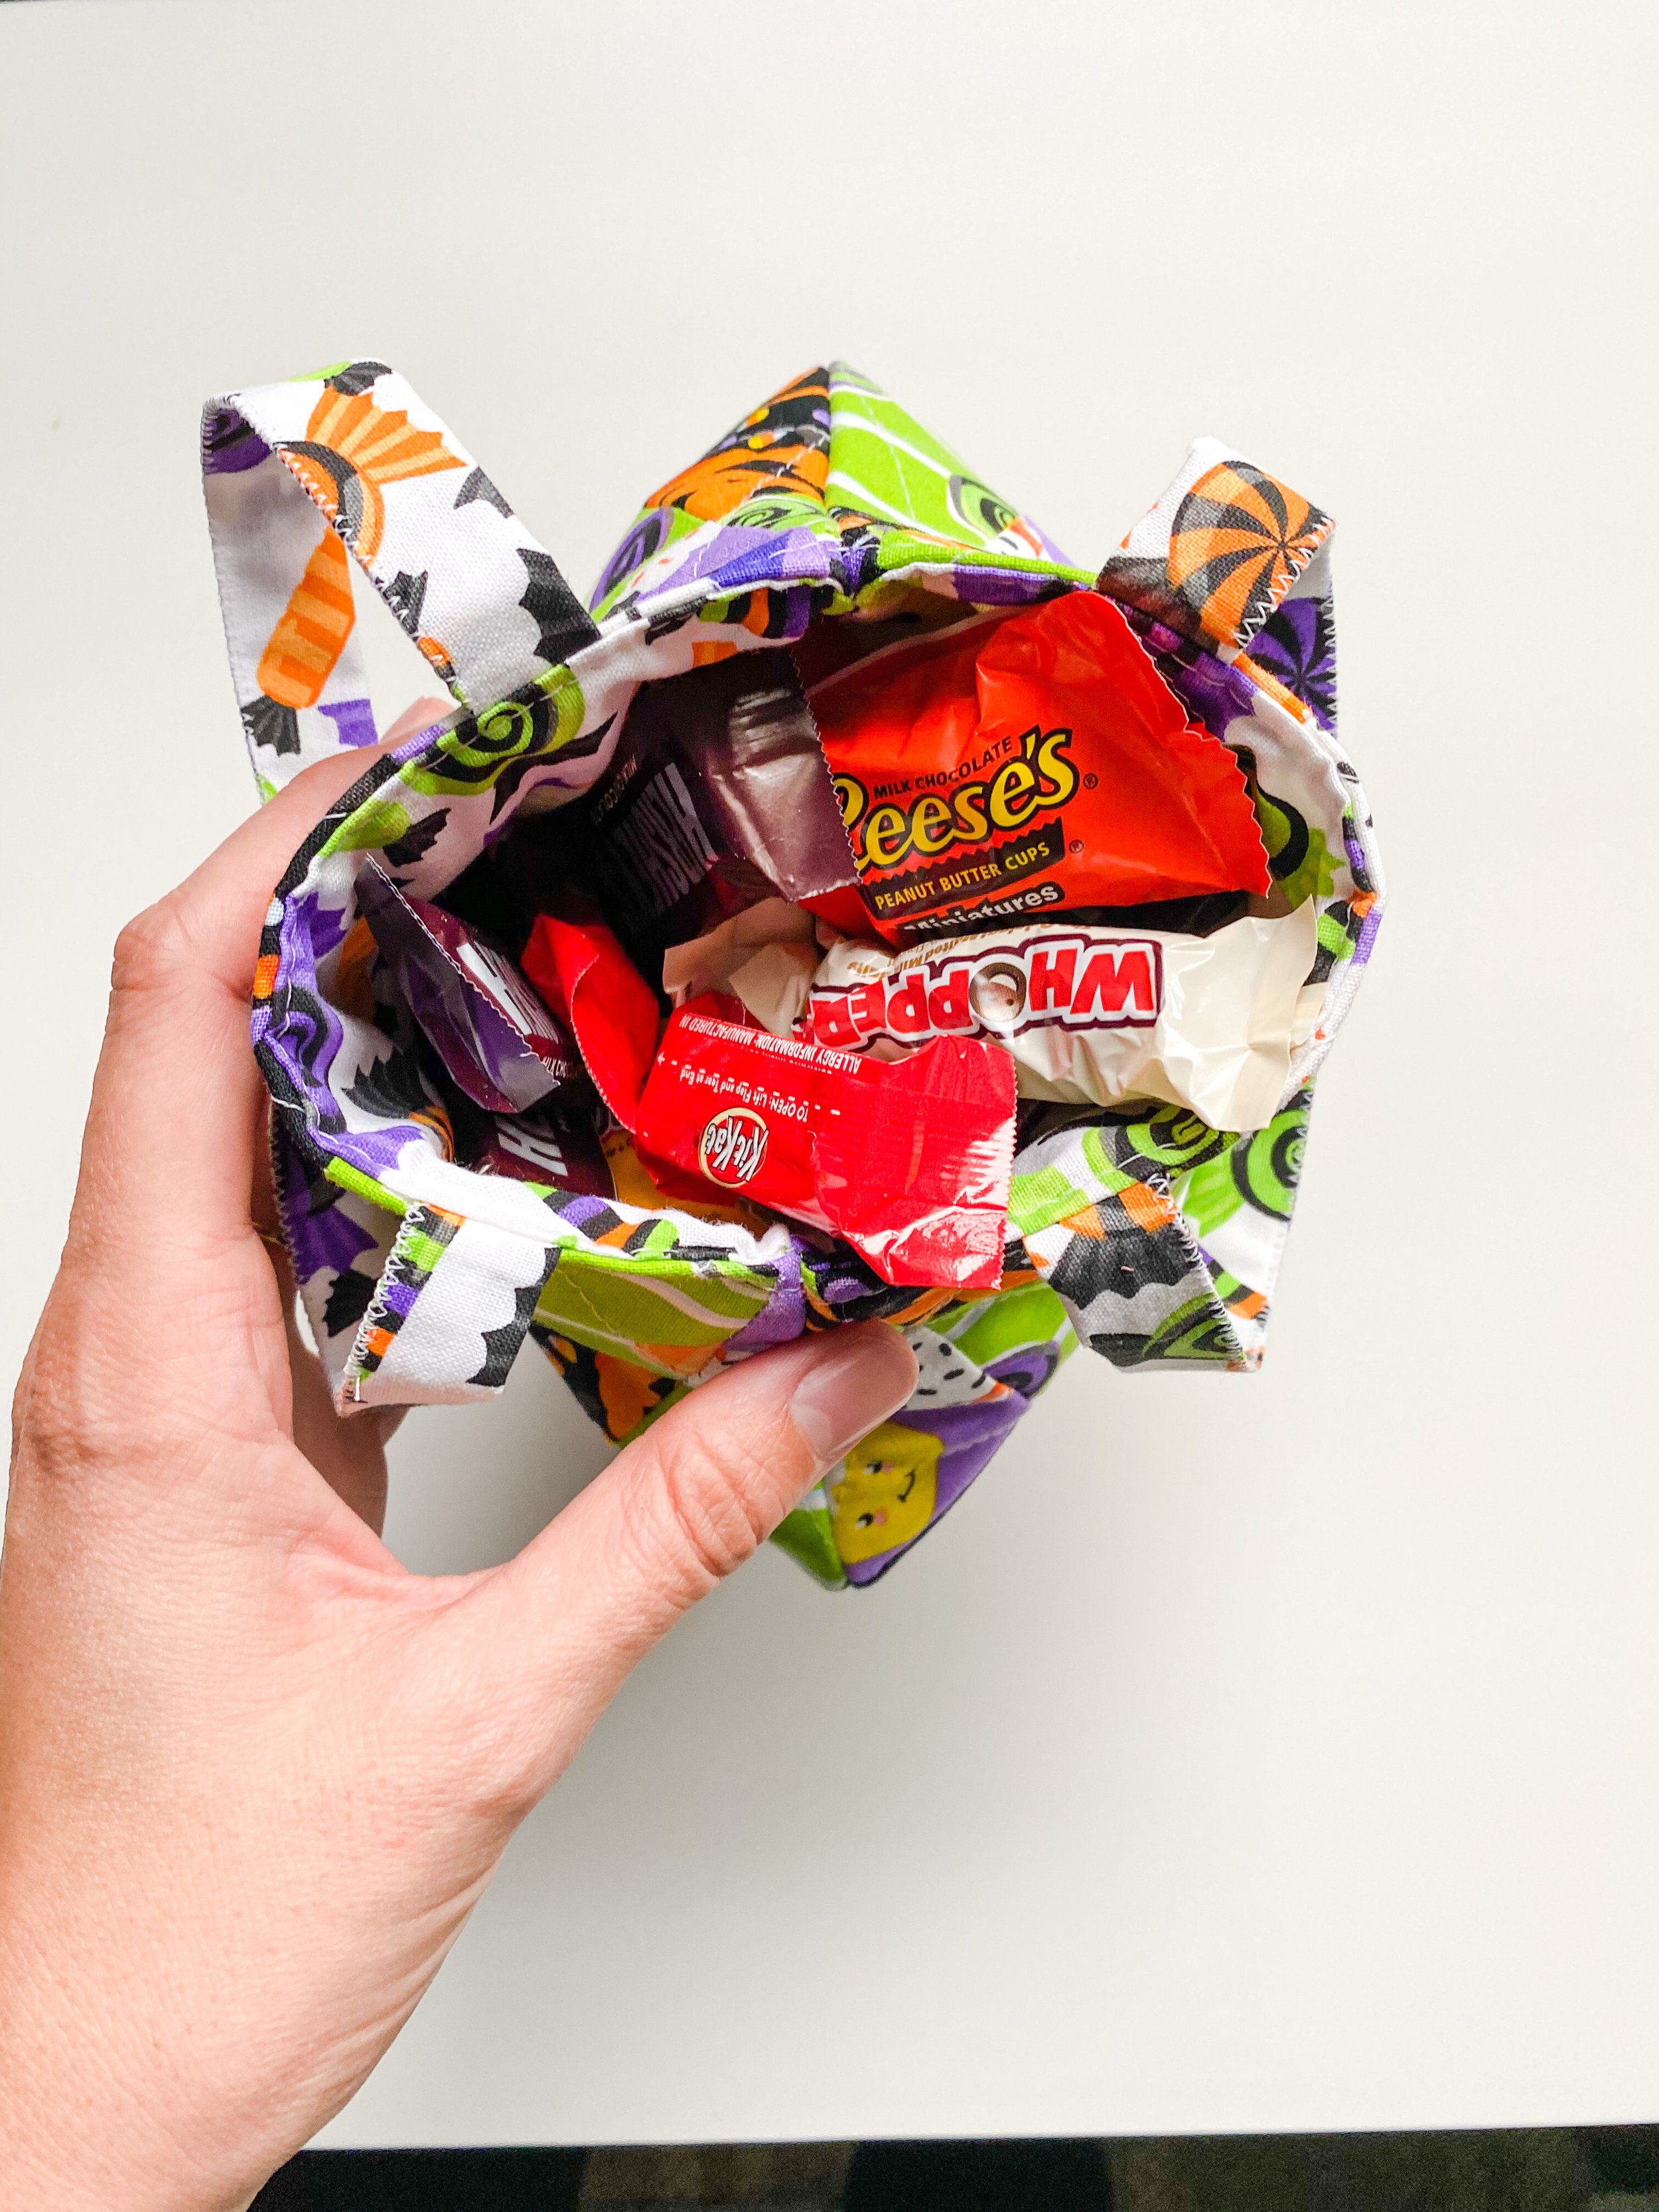
20
Now stuff with candy and enjoy!

Happy sewing and happy Halloween!